The world grows considerably after you take your first steps.
Wednesday, February 6, 2013
Saturday, February 2, 2013
How to Make a Tile
I'm using GraphicsGale, which is free for Windows. Mac users may find luck with Pixen or Asesprite.
Step 1:
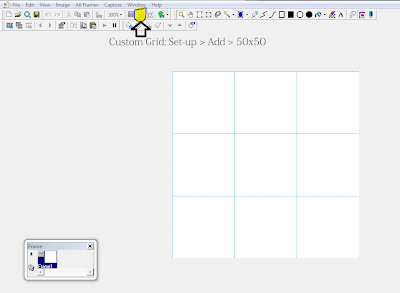
Tiles are 50px by 50px. Creating a new custom grid in GG will set you right. Alternatively, you can just draw a 50x50 rectangle, then draw inside that.
Step 2:
Like a jigsaw puzzle, it's best to start with the edges first. That way, you know they overlap right.
Step 3:
Fill in the middle, still janky and one color. Just need a blueprint.
Step 4:
Get yourself a palette, if you haven't yet.
(Four colors. Kinda blurry here.)
Step 5:
Fill in the shapes, then get rid of those jagged edges!
Er, I mean...
Step 6:
COLORING!!!
Step 7:
Give it a background color, and be sure to color the background with different stuff so it looks complex. Then add a few lil doodads in the blank spaces and you're all set.
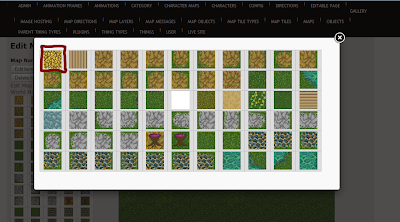
Step 8: After EMAILING US for a username and login go to bartholomewsdomain dot org backslash Admin. Then do Gallery > Tiles > Pictures:
Step 9:
Add that sucker. Then go to Map Tile Types and bless your new friend with a name.
Step 10:
Go to a map of your choosing and click on a tile...
...what kinda tile you want?...
BOOM! (you can also double-click on the tiles to the left and stamp it wherever you please).
All done in less time than it takes to roast a chicken.
-Joe
Subscribe to:
Comments (Atom)


-2003-(1)-hlm.JPG)


